Rags to Rugs is an ebook and a series on the Day to Day Adventures blog. If you would like to check out all the posts in the series(or get the ebook) then go to the main Rags to Rugs page to see the other 8 posts. This is #6 in the series so go check out Reasons to Make a Rag Rug plus the next 4 posts in the series and then come on back. I'll be here waiting to show you how to add on to your base and increase each row to make your rag rug grow.
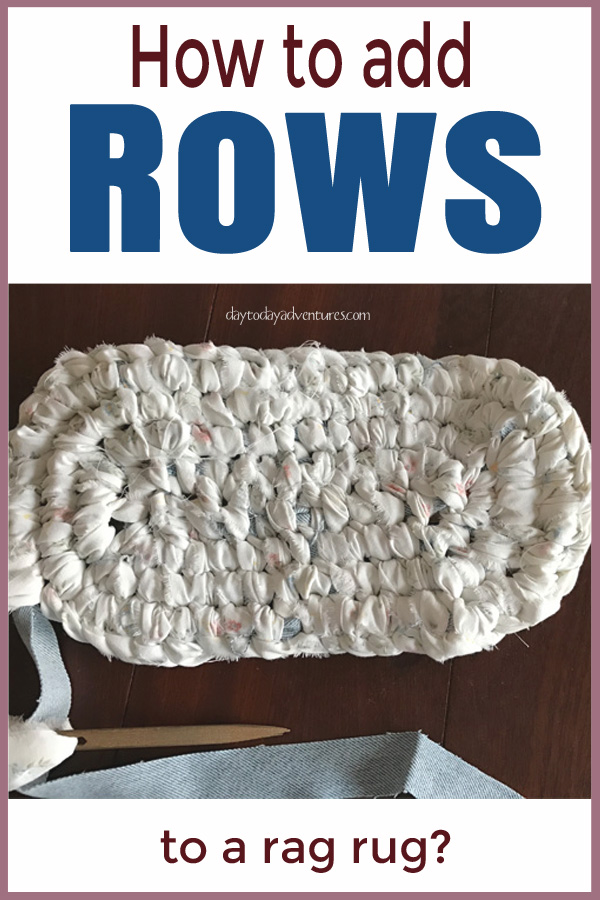
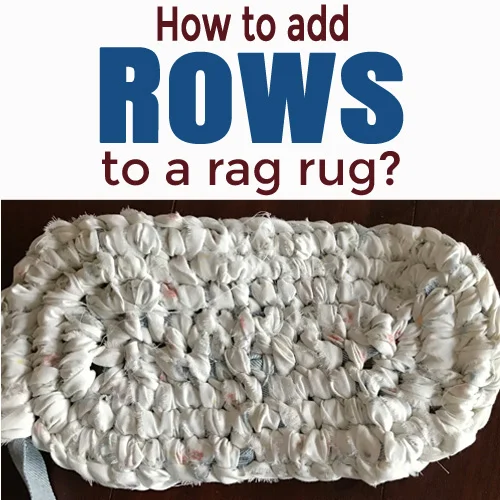
Once you have made the base for your rag rug then you are ready to start adding the rows which will circle the base. The rows go fast at first but as your rug gets larger each one will take a bit longer. For the white rug in this post and I've worked for 5 hours so far. Mainly while I'm watching movies in the evening so I'm redeeming wasted time by working on a rug while my brain is resting.
When the rug is done I will update this post with time and measurements of the rug!
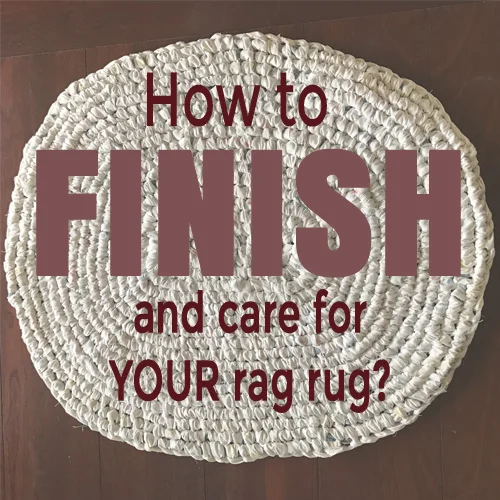
**UPDATE** I finished my rug in just 30 days! It ended up measuring 23 x 26.5 inches! Which is the perfect size for a small rug for in front of my sink!
The base is the first row you make(left photo below). After it is finished your base no longer needs to be anchored (right photo below) since you will be turning it as you do each successive row.
Basic Instructions for Rag Rug stitches
There is only one stitch.
See #1. LOL! You really just do the same stitch over and over.
How to make a stitch
Go through one of the holes with your needle on the left side of the base
Go under the tail(blue fabric in photos) and over the working strip(white fabric)
Pull fabric on your needle until you make a knot which will be "around" the tail.
Repeat until you get to the end of the base.
Steps for Adding Rows to your Rag Rug
The next step is to increase the number of stitches in each row. Because your rug grows bigger around with each additional row you need to add stitches. If you don’t do this then your rug, which should lie flat will cup, ruffle or possibly end up looking more like a bowl.
This is not so good for making a rag rug.
Making a rug increase is a big experiment because fabrics come in all kinds of different thicknesses. So I may need to add 1 or 2 stitches to each row for a thicker fabric like denim but for a thin fabric I may need to add 4 to 5 stitches on each row.
Steps for Increasing the Stitches on Each Row
1. As you are stitching you will reach the end of your base
2. Choose an opening to do two stitches instead of just one
** There are no special stitches to do when you increase. Just do the regular stitch.
Need a wooden needle? Get yours on the Rag Rug Resource page!
As the rug gets bigger do a couple of increasing stitches on each end. You will need to adjust how many increase stitches you do as you go. If the rug cups then do an increase stitch or two in that row. It usually takes making 3-4 rows to before the rug start to cup. If it seems a little tight then add stitches. If the rug starts to feel loose and wavy, then don't add stitches on that row.
NOTE: Be careful about doing your increasing stitches in the same place each time as you go around. It can make a pattern. The fun thing is that you get to choose if you want that to happen or not. My preference was not to have that pattern so I randomly placed the increase stitches. The above photo was after a couple of hours of work. The rug is almost twice this size now!
This all sounds mysterious but it isn't. It is pretty simple and much easier, in my opinion, than making the base. However, seeing how to do something always helps which is why I developed the Rags to Rugs video course!
You can also get the ad-free, printable .pdf for easy to follow instructions that you can take with you anywhere for just $7.50.
If you purchase the ebook, then you are getting more detailed explanations than the blog posts but if you want to make rugs for free then just be sure to visit each post! A printed copy means you don't need to be on the internet to follow the directions.
Related Posts you won't want to miss!


