Rustic handmade signs are all the rage right now. They can also be very expensive to make and a frustration filled DIY craft if you don’t know what you are doing! Read on to learn my secrets for finding great materials for creating your own handmade signs for less money!
I participate in the Amazon.com affiliates program. If you make a purchase after following one of my affiliate links (like the ones above) I earn a small commission, but it does not affect the price you pay. For more information please see my disclosure page.
About a year ago I started to use my Silhouette Cameo (cutting machine) to create signs and I want to share what has worked well for me and what hasn’t. When you make your DIY sign you will want to start with good materials but WHAT does that mean? I’m no expert but I can tell you what I have used and how I’ve saved money on making my signs.
7 inexpensive materials or supplies that I’ve used to in making DIY signs
1—Glass frames
The first “signs” that I made were old frames that I took the cardboard back off and added some vinyl. (FYI I glued the glass in so it didn’t fall out) This method gives the “see” through look (see example below). It was simple and not terribly hard to make. Getting the vinyl on straight was the hardest part but that is a totally different post! Dry erase markers are your friend to make these. You can find old frames at garage sales, good will, or even your own house.
Using frames with out glass was my next step. Using thin plywood, I filled in a frame that had no glass(sign on the right below). You can also paint the pressed cardboard that comes with frames if you still have it. I’ve picked up many frames at garage sales and the good will that don’t have glass anymore for pennies and then made signs with them.
2—Cabinet Doors Try #1
After using frames, I found what I thought was a beautiful resource. On FB marketplace, a lady was selling cabinet doors that were finished but had no hardware. Perfect for me so I didn’t have to stain so I bought a few. However the problem was that I didn’t love the finish color and when I painted them I had problems with my transfer paper pulling up the paint in a few spots. Major bummer. The one pictured below “hides” the problems :)
I tried sticking on vinyl for the saying (above on left) but I just wasn’t loving it as much as the painted signs.
The lessons learned from the cabinet doors were two-fold. First, I got brave and used the router that my father in law had given my hubby. Using the router let me create a groove on the back for hanging these signs. Second, I decided I wanted frames on my signs and since I’d used the router that was the first step in making framed signs! BUT I wasn’t done with the cabinet doors—more on that later.
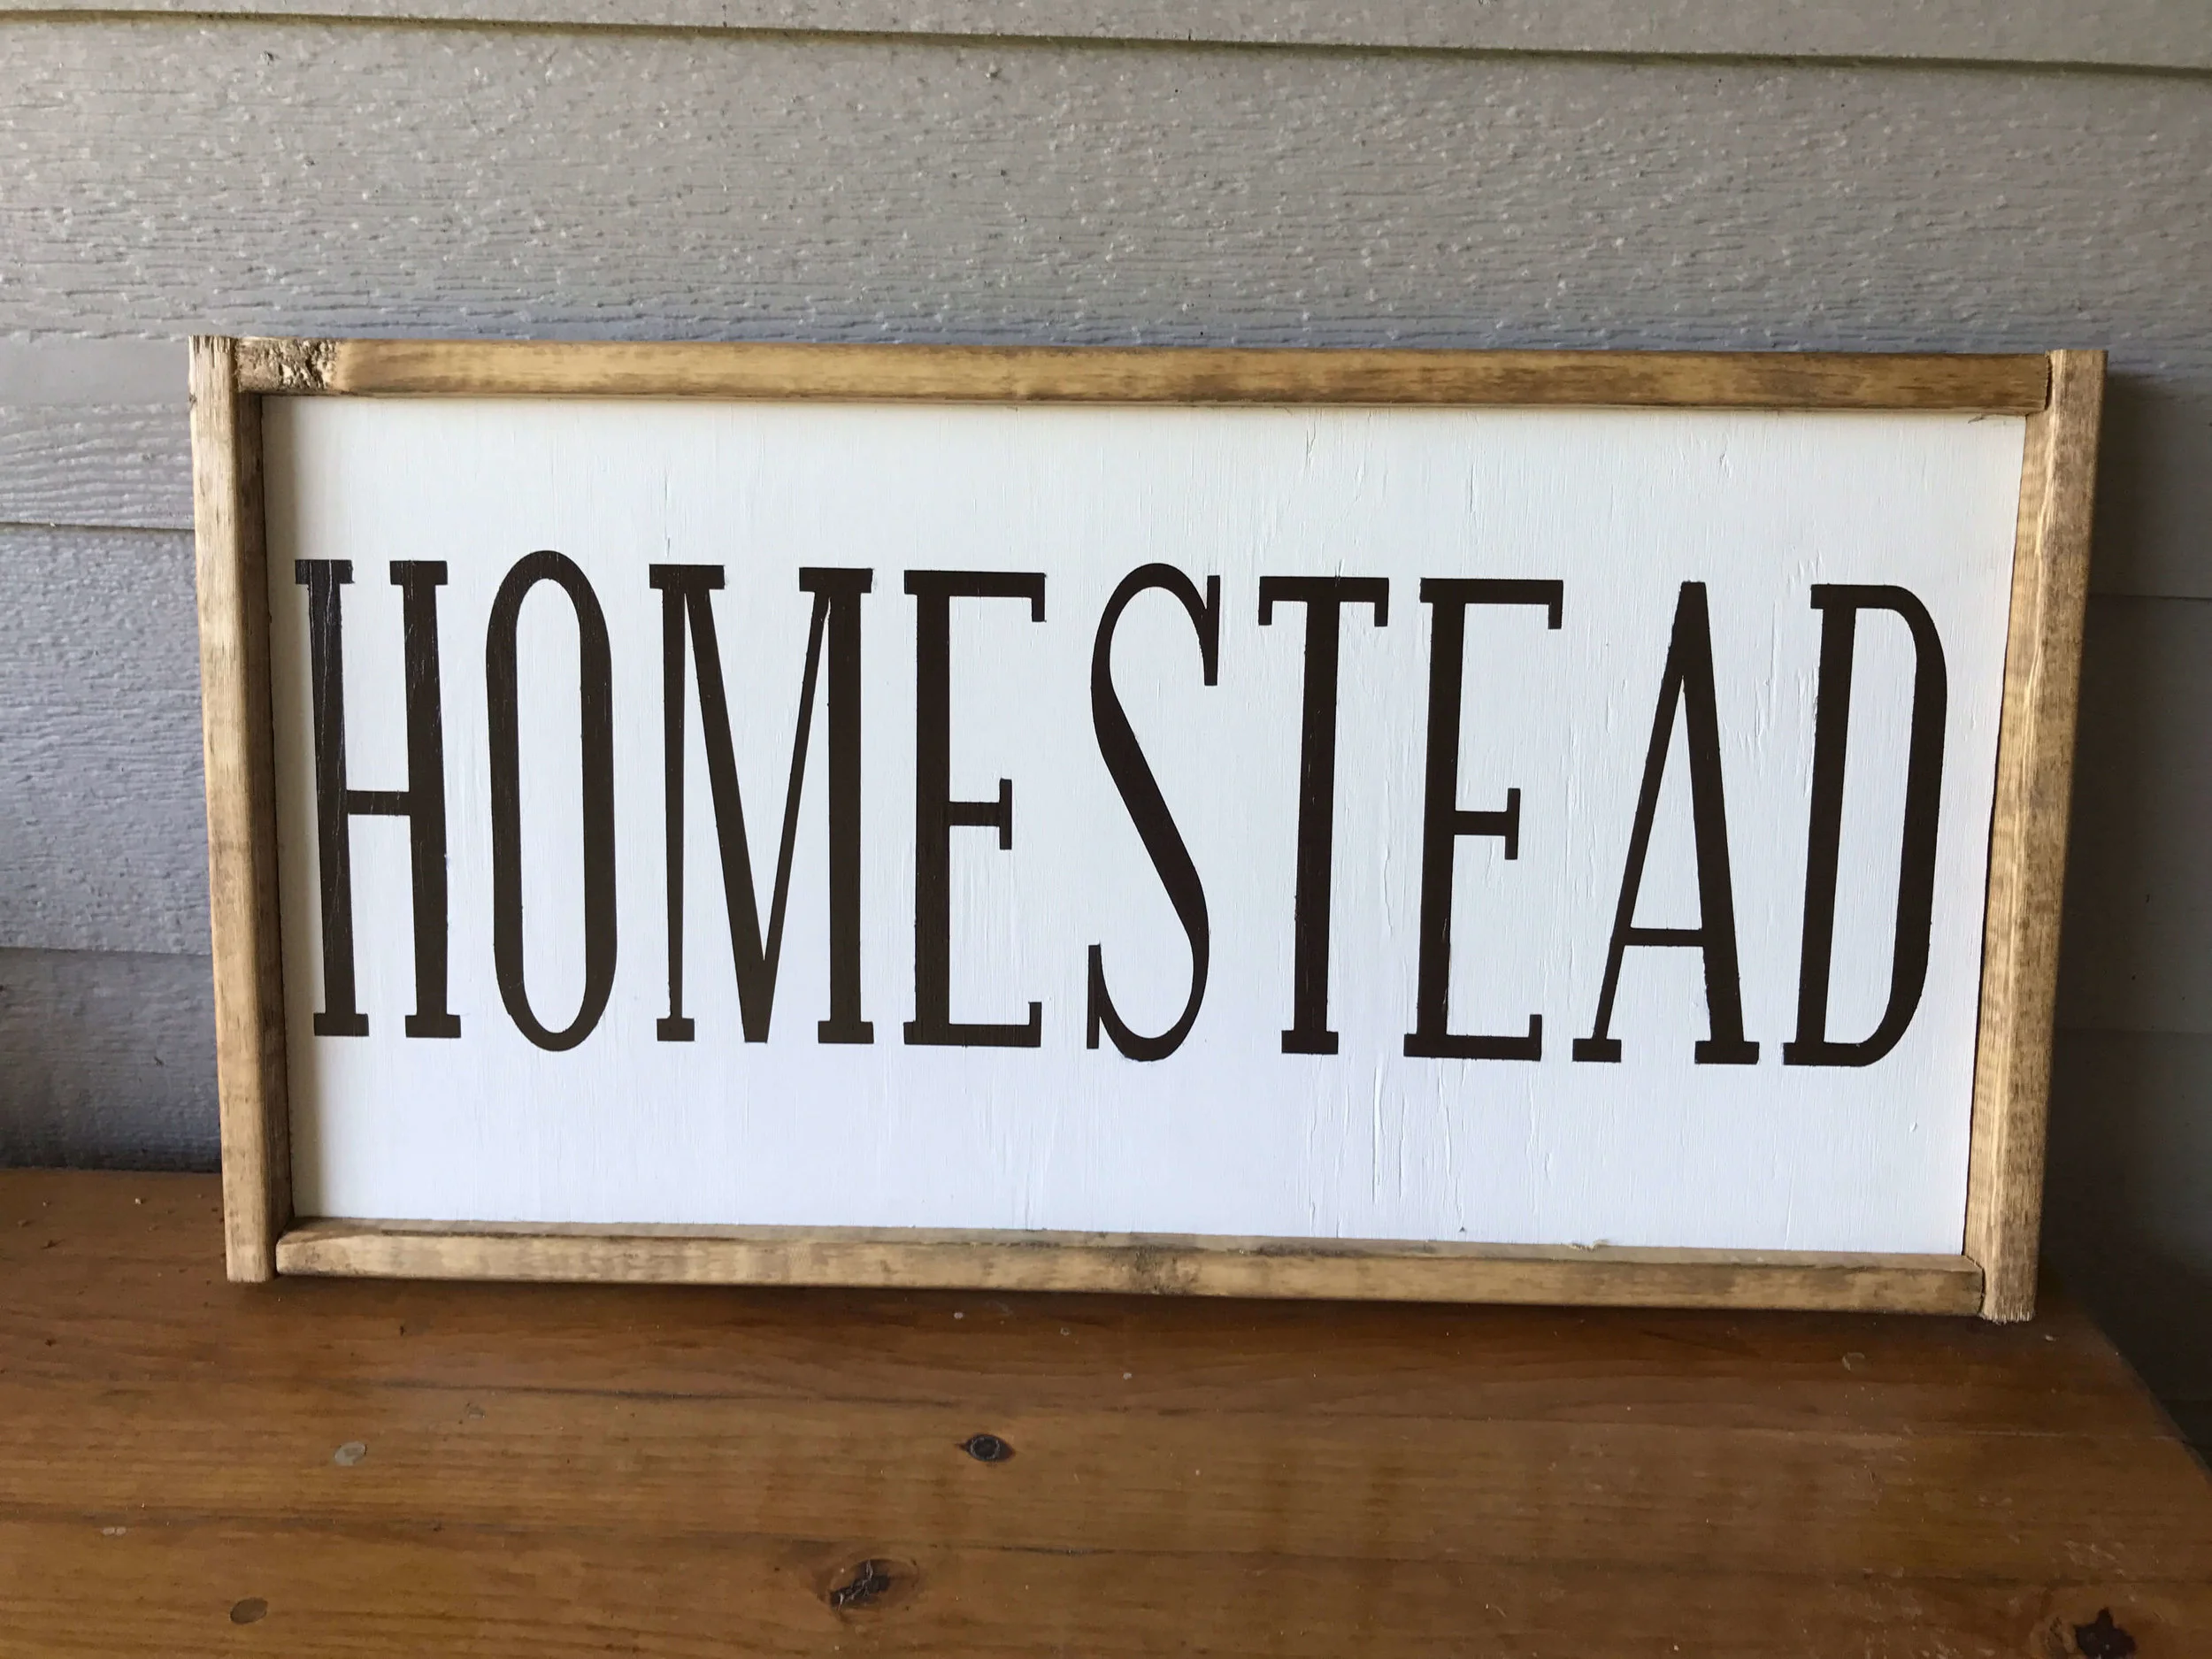
3—Plywood and Furring strips for Rustic Framed Signs
I love the way these signs look and the materials to make them are relatively inexpensive but require more “work” to get them made. Birch plywood makes the back and furring strips are the frame. The birch plywood is much smoother than regular 1/4 inch pine plywood and requires less sanding so I decided to spend a little more money so I could avoid more sanding time :) There are many tutorials on how to make framed signs so I won’t go into that on this post. I purchased my supplies from Home Depot and Lowe’s.
4—Pickets, Paneling aka repurposed Wood
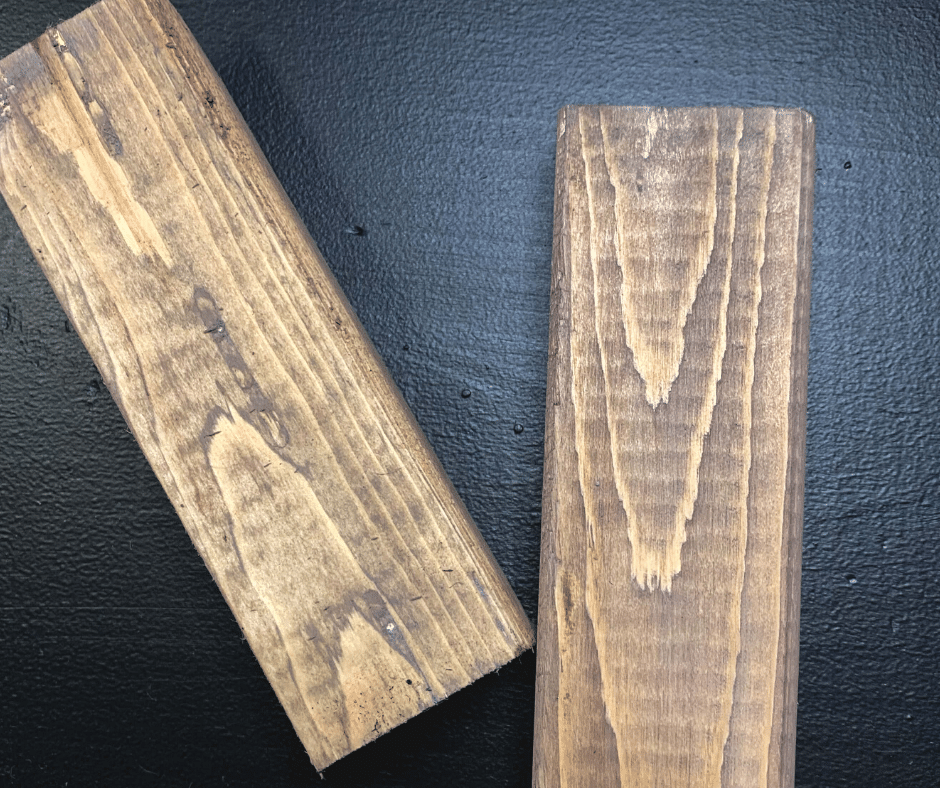
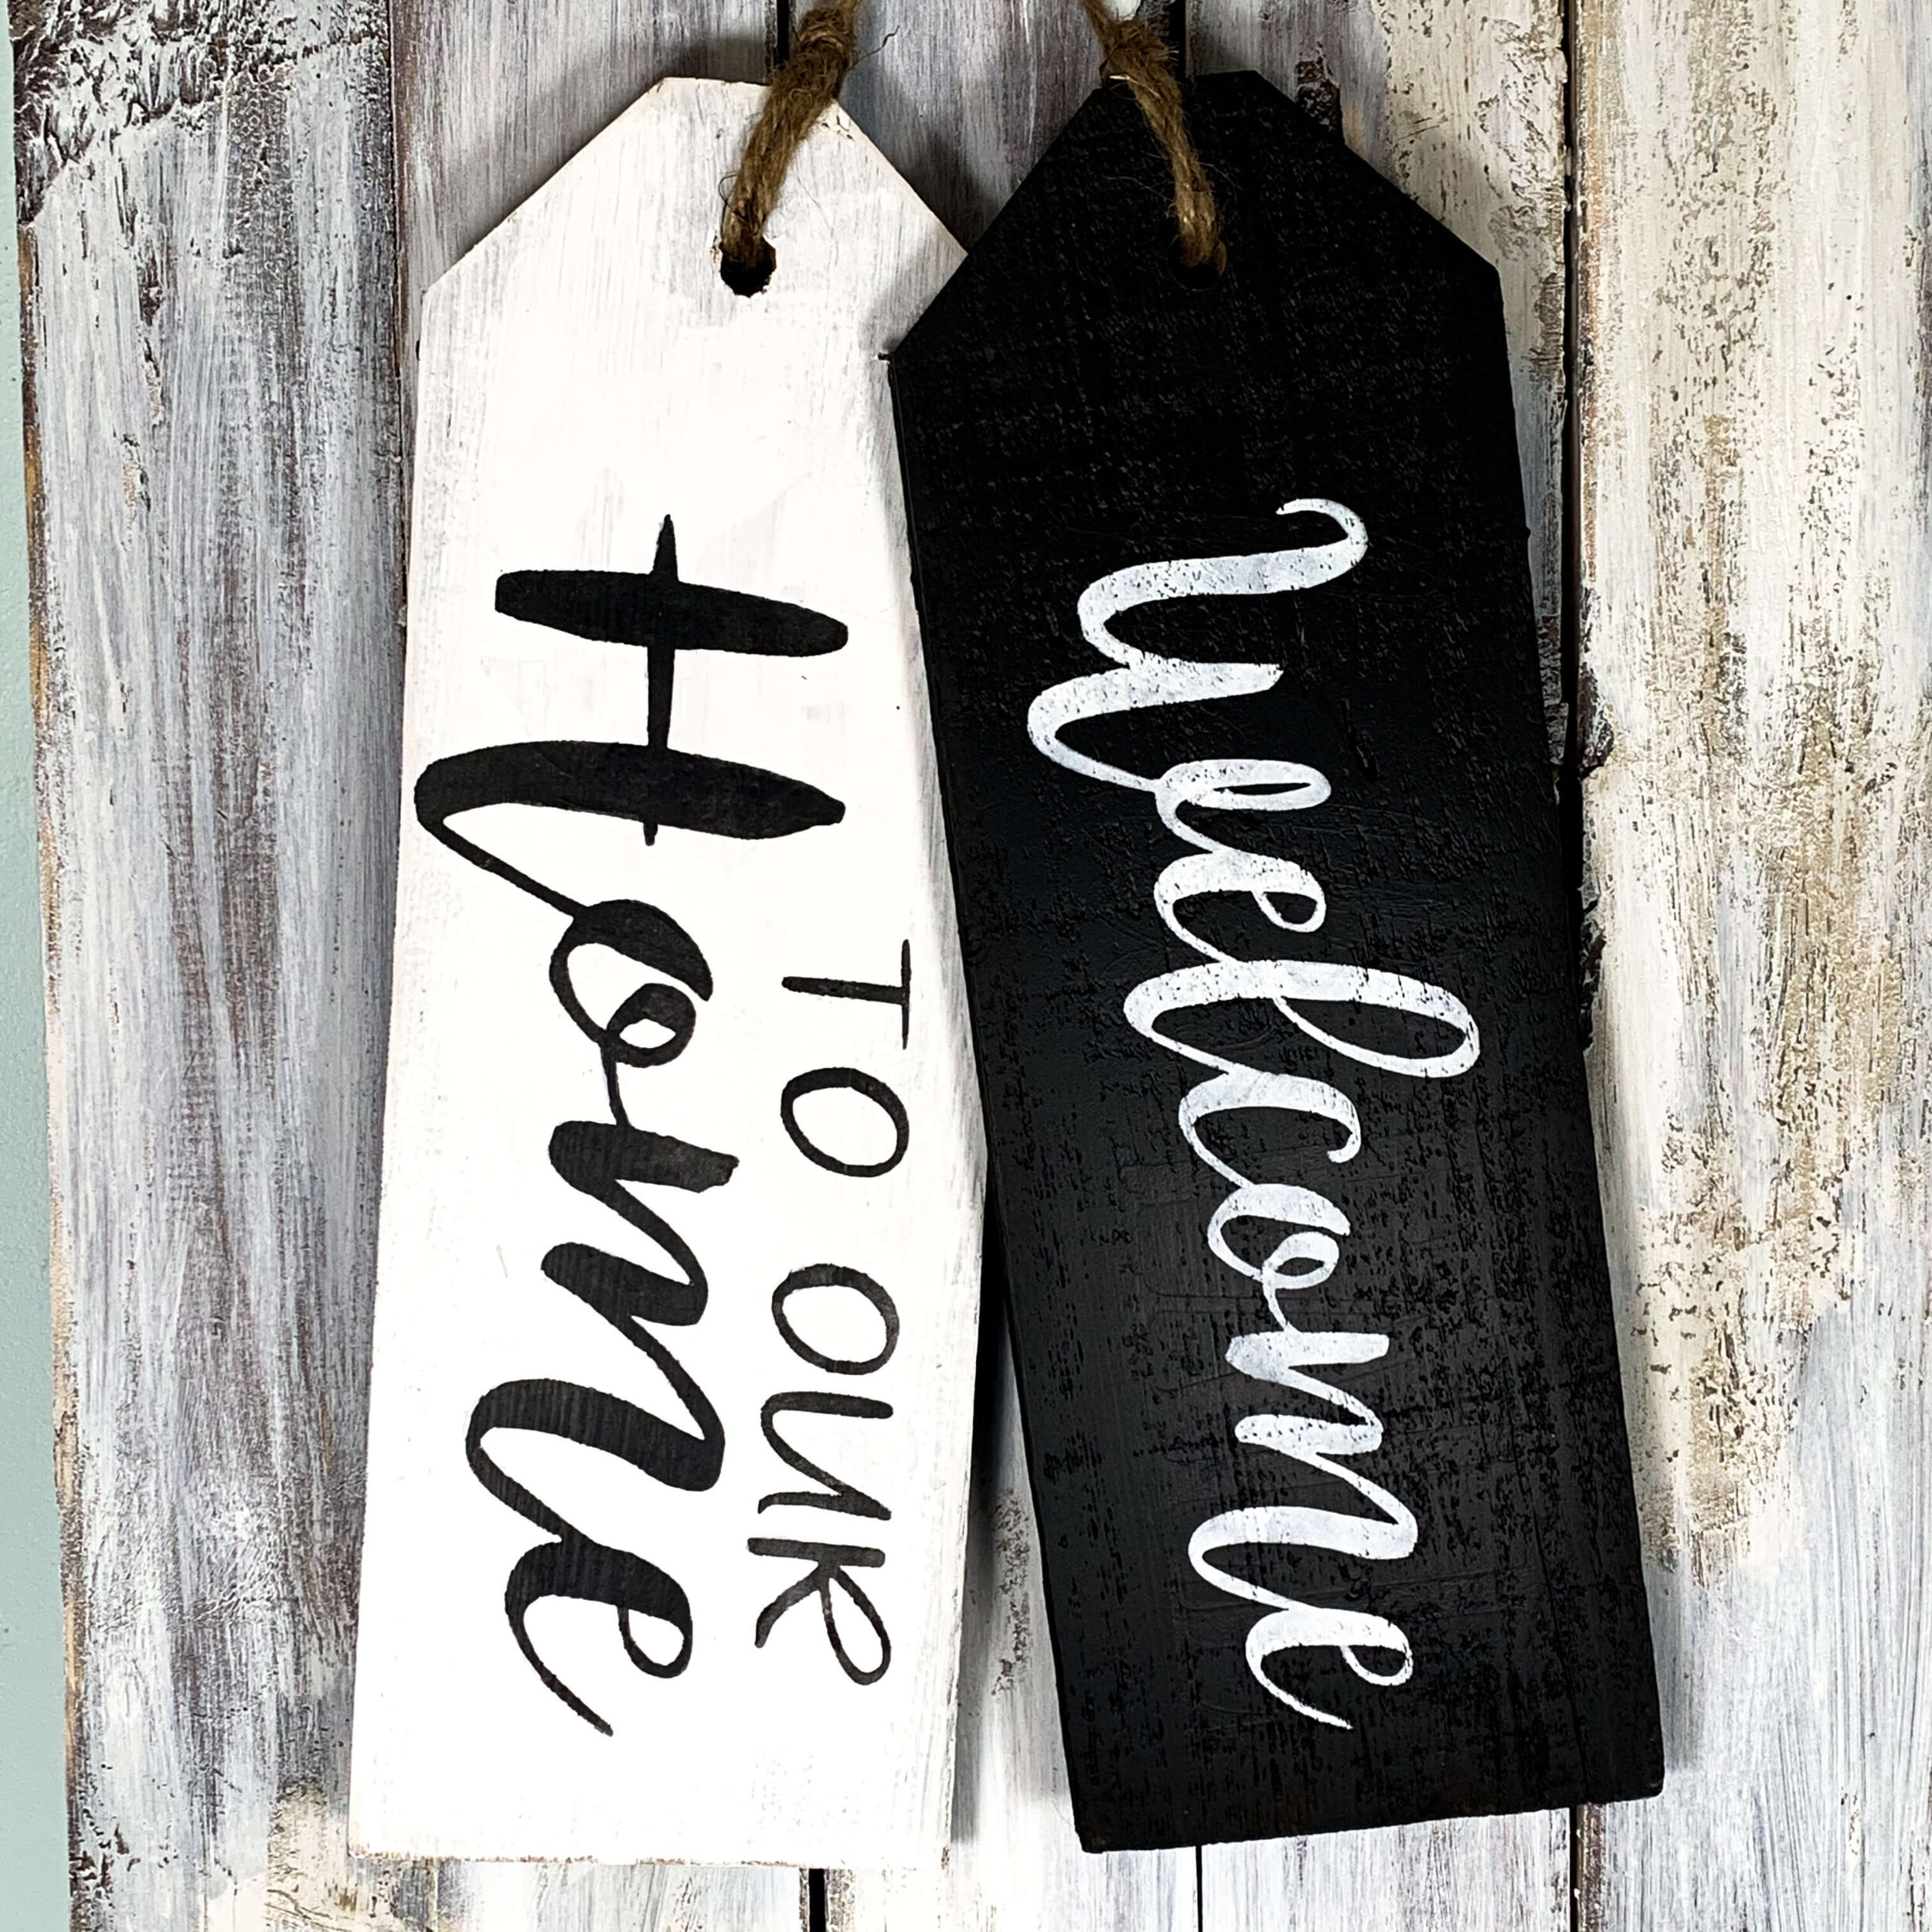
At some point it occurred to me to stop by the Habitat for Humanity reStore. That’s when things really changed for me. Cheaper wood for projects was available if I was patient. There were frames and longer lengths of wood. Most recently there was paneling that was perfect for making signs but I have bought 1x8s, 2x4s and so much more. Here are some of the projects that have been made all from reclaimed wood. All the signs below are using wood from the reStore.
The LOVE signs below were made from reclaimed wood from the reStore!
5—Cabinet doors try #2
Occasionally there are unfinished cabinet doors at the restore! With a little chalk paint and sanding the cabinet doors word great for making signs. The one below is LARGE! Almost 3 feet long and 15 inches wide. They have a framed look which I like and I only paid $2. Perfect!
6—Reverse Canvas Signs
We’ve all seen the canvases that you can paint on a craft stores right? Well did you know that you can use them to make signs?? This is a great tutorial for making reverse canvas signs if you want to give this method a try. You will not be painting but using heat transfer vinyl instead.
7—Materials for stencils
When I started making signs I used Oracal Oramask 813 Stencil Film but that was a bit to pricy for me. ENTER the Dollar Tree and the shelf paper rolls for $1. That is what I use almost exclusively now for my stencils. Cut the roll to fit on your mat and then adjust your settings (mine are Blade 1, Speed 5, Force 5) for cutting a thinner material.
There you have it! 7 materials that won’t break the bank in making signs yourself! I’d love to hear about your fabulous finds for creating your own masterpieces. Leave a comment below!
What to read next
