Our family really loves the 4th of July holiday. We shoot off fireworks and have friends and family over for a meal together. It is one of the best parts of summer. This year will be no different!
We don’t do a lot of decorating but I like to change the front door wreath to match the season. I may even make this cute banner!!
So when I saw a 4th of July wreath last week on Facebook I knew I wanted to make one with my friends when we ran away for a recharge weekend.
This easy wreath took less than 30 minutes to make. I love it!
*This blog post contains affiliate links. What this means is, if you click them and make a purchase, I will get a small commission.
Materials needed
6 white, blue and red handkerchiefs(18)
OR 2 yards of each color of fabric
Stars—die cuts or paper to cut into stars
I bought my materials at local craft shops for less than $20. I used a 40% off coupon on the fabric but everything else was regular price so this is a pretty inexpensive project!
Sign up for Cricut Access™ and get unlimited access to images, fonts and projects (aff)
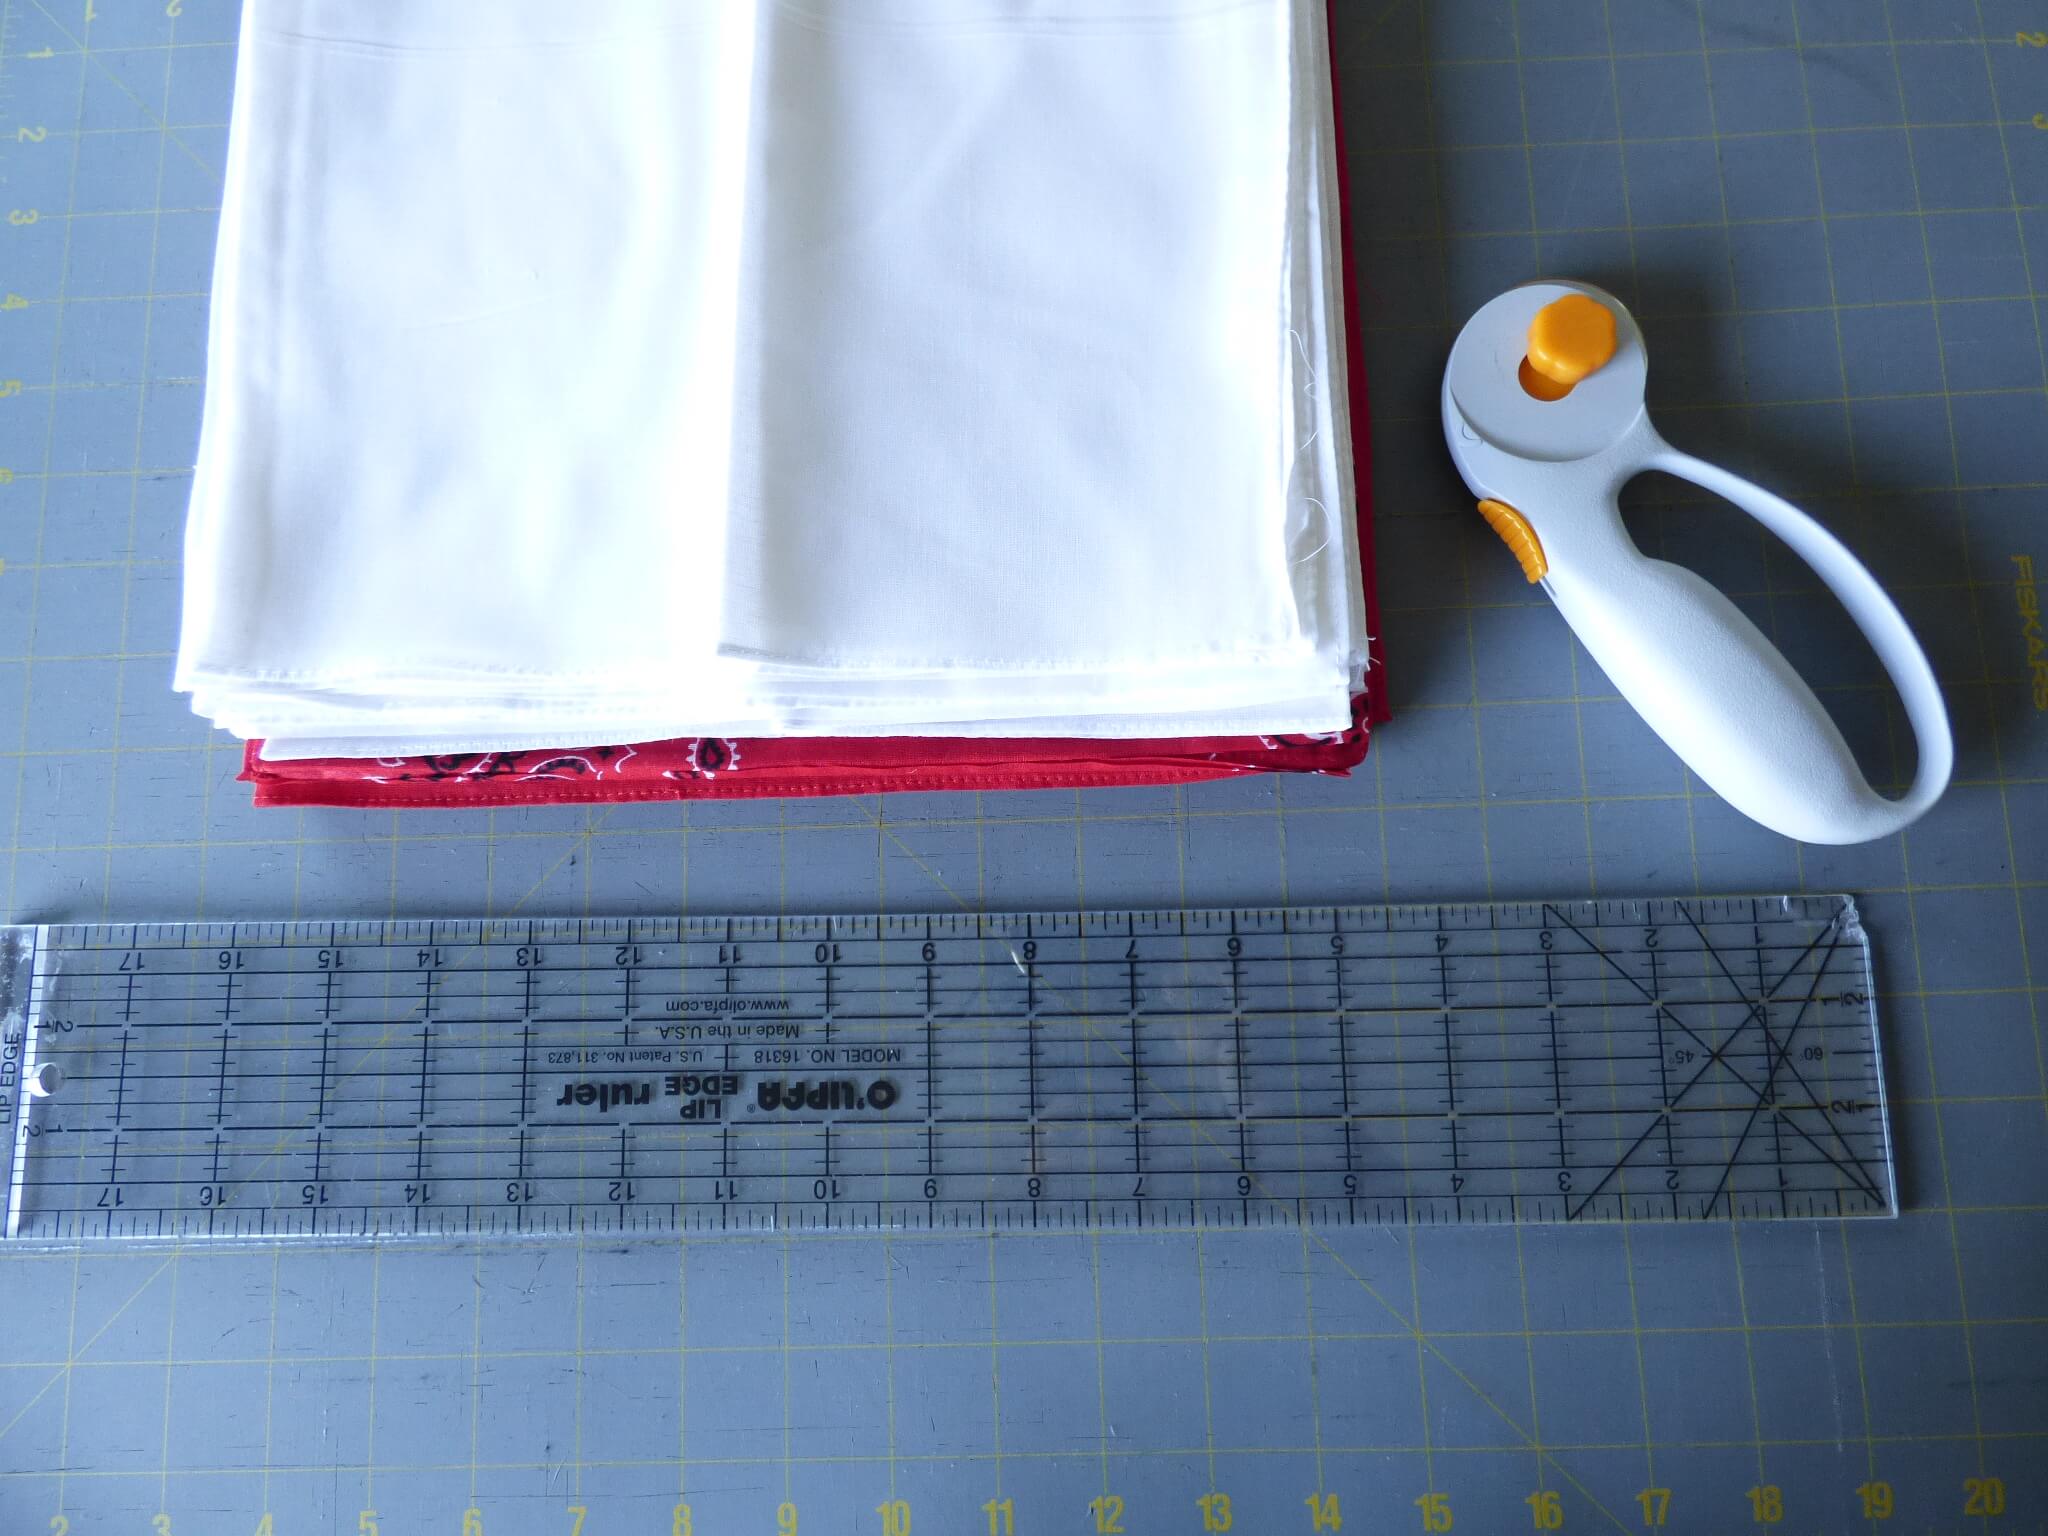
1. Cut handkerchiefs in half. I didn’t worry about the unfinished edges but if you are concerned then use pinking shears to cut the handkerchiefs to prevent raveling.
**If you are cutting fabric you will need 12 rectangles approximately 11 inches by 22 inches, which is what is pictured above.**
I cut red and white handkerchiefs and then cut up navy fabric. The blue fabric was the color I wanted and cost a lot less than the handkerchiefs.
2. Fold each piece of fabric or handkerchief in half lengthwise. Then fold in thirds with the cut edge to the inside. This minimizes the amount of raveling the fabric will do. You end up with folded fabric approximately 2 inches wide.
3. Take your folded strip and fold it in half lengthwise.
4. Put the fold under the edge of the wire ring.
5. Take the folded side of the strip and put your hand in the "hole." Draw the ends of the strip through the hole and then tighten the knot. My pictures show that I went through the metal ring but I decided later it looked better without going through the ring. You can do it whichever way looks better to you!
6. Make knots with all of the blue fabric. Then you start with either red or white and alternate the strips until you have used them all.
The picture to the right shows the back of the wreath. I think the knots show too much on this side.
The picture below shows the front of the wreath which shows less of the knot.
There is no wrong way to display this wreath. You might like the knots showing more and that is cool by me! Also you might like more or less fabric on your wreath. Just do another couple of strips! Make it your own!
7. When I moved the wreath some of the fabric strips drooped a little. Not too bad but knew in the Missouri humidity they would look sad. So I sprayed the fabric with fabric stiffener to keep it all looking festive.
8. Final step is to attach the stars with a glue gun. Make sure to arrange them how you like them before starting to glue. You can tweek the placement until you like it while your glue gun is heating up.
My friend Karen and I did this together. Making crafts with friends are always more fun!
Want to be included in all the fun projects and posts from Day to Day Adventures?
The be sure to sign up for the free newsletter and as a bonus you will get access to the library of free tip sheets and printables that we offer!
More projects . . . .


